How to Blend Hair Extensions Perfectly: A Stylist’s Secret Guide
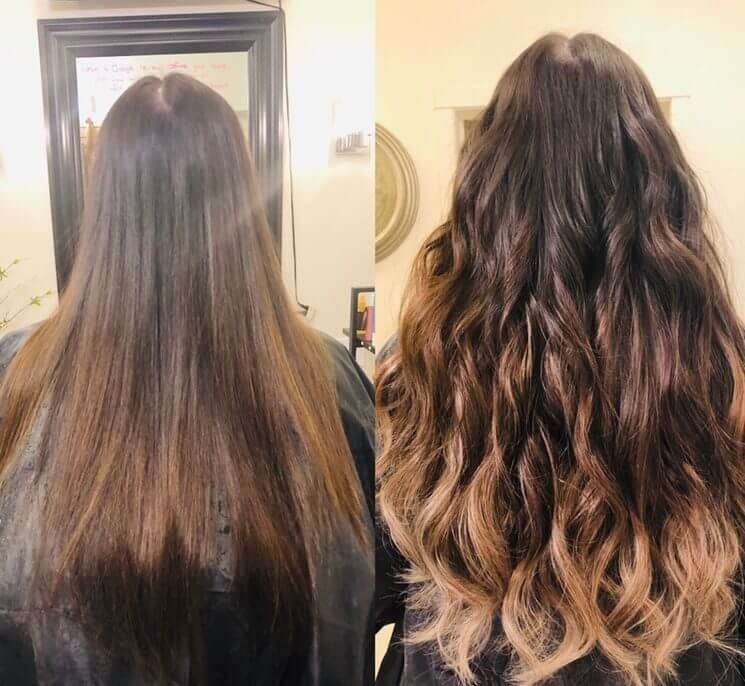
Even with an extensive range of over 40 hair extension shades, achieving a truly natural look can be challenging. Success lies in proper blending, which allows the extensions to integrate seamlessly with your natural hair for a flawless, undetectable finish. Because natural hair encompasses hundreds of variations with complex undertones and shade mixes, finding the perfect match is a precise art. To assist you, we have developed this comprehensive guide to mastering the techniques for blending hair extensions flawlessly.
Achieving a seamless, consistent blend between your natural hair and extensions is essential for a flawless finish. Regardless of your hair type—whether short, fine, or blunt-cut—we provide the techniques you need to ensure your extensions move, bounce, and shine with natural vitality.
In this guide, we’ll help you pick the right extensions for your hair type. We’ll also show you how to fix common blending mistakes that can make your extensions stand out. With the right techniques and a little practice, you’ll master the art of blending hair extensions perfectly every time.
Understanding Your Hair Type for a Seamless Blend
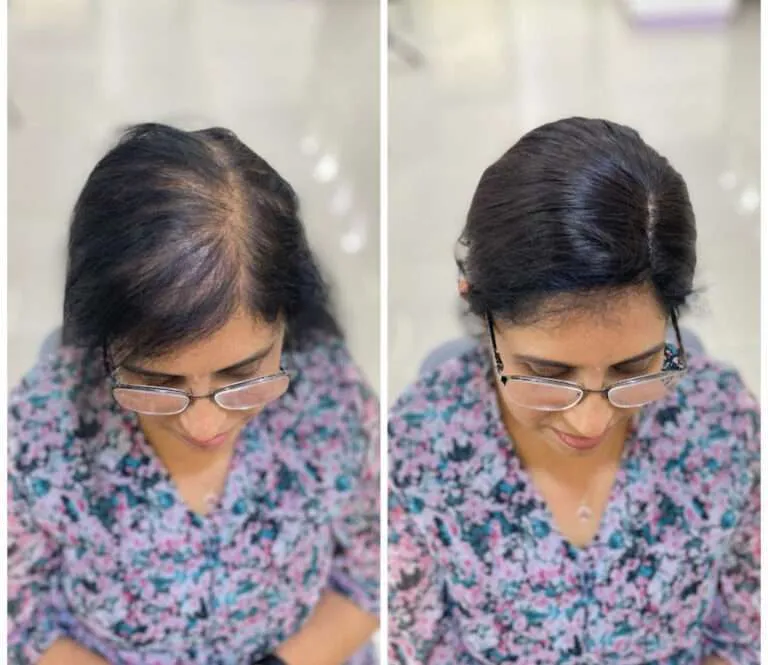
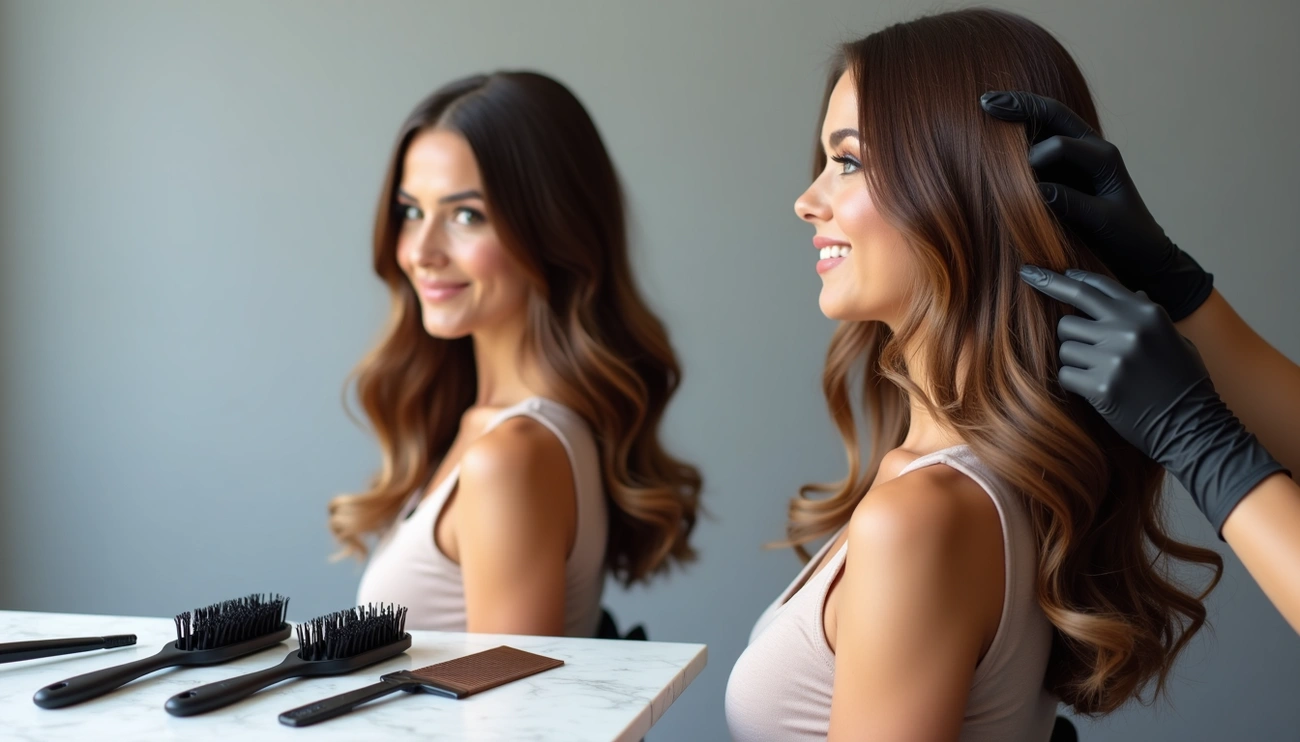
Understanding your hair’s unique characteristics is the essential first step toward achieving a seamless, natural-looking extension blend. Before purchasing or applying your hair extensions, it is crucial to take the time to thoroughly assess your natural hair’s texture, density, and current health.
Pay close attention to your natural curl pattern, the thickness of individual strands, and the overall volume of your hair from root to tip. Identifying whether your hair is fine, medium, or coarse, and noting any chemical treatments or damage, will allow you to select the correct extension weight and attachment method. By aligning your extensions with these specific traits, you ensure that the added length and volume integrate flawlessly, resulting in a professional finish that is both comfortable to wear and virtually undetectable.
The Impact of Hair Thickness on Seamless Blending
Your hair’s thickness dramatically influences which extensions will work best. Fine hair needs light options, such as tape-ins or nano rings, to prevent strain and damage. The attachments need to be particularly discreet as they’re harder to conceal in thinner hair. Coarse hair can hold heavier extensions like keratin bonds or micro rings. However, it’s important to ensure proper weight distribution to avoid stressing the scalp.
To determine your hair thickness, try the simple finger test: roll a single strand between your fingers. If you barely feel it, you have fine hair; if you can feel it but it’s not rough, you have medium hair; if it feels like a thread, you have thick hair.
Why Short and Blunt Haircuts Require Specialised Care
Short or blunt-cut hair presents unique challenges for extension blending. Blunt cuts make a clear line between your natural hair and extensions. This instantly shows that you’re using added hair. This hair type is actually the most difficult to blend.
For very short hair (under 5 inches), you need permanent extensions like tape-ins or nano rings. Clip-ins would be visible at the attachment area. Also, short hair needs more extensions for full coverage—usually 150-200g for the best result.
Matching extension weight to your natural hair
The weight of your extensions should correspond with your natural hair density.
Common extension weight categories are:
100g for light volume,
120g-140g for medium volume and length,
160g-220g for full volume and dramatic length.
For fine/thin hair, select 100g-140g to enhance volume without causing stress. Medium hair suits 120g-160g for a good mix of length and volume. But thick or coarse hair needs 180g-220g so the extensions match your natural density perfectly.
Never use more than 280g of permanently attached extensions. This weight can harm your natural hair over time.
Choose the Right Extensions for Seamless Results
Choosing the right hair extensions is key for a natural, seamless look. With many options available, understanding the differences can help you make the right choice for your needs.
Clip-ins vs tape-ins vs nano-beads
Each extension type offers unique benefits depending on your lifestyle and hair goals. Clip-in extensions are great for temporary use. They go on and off easily at home, so there’s no commitment. They’re ideal for special occasions but may feel heavy during extended wear.
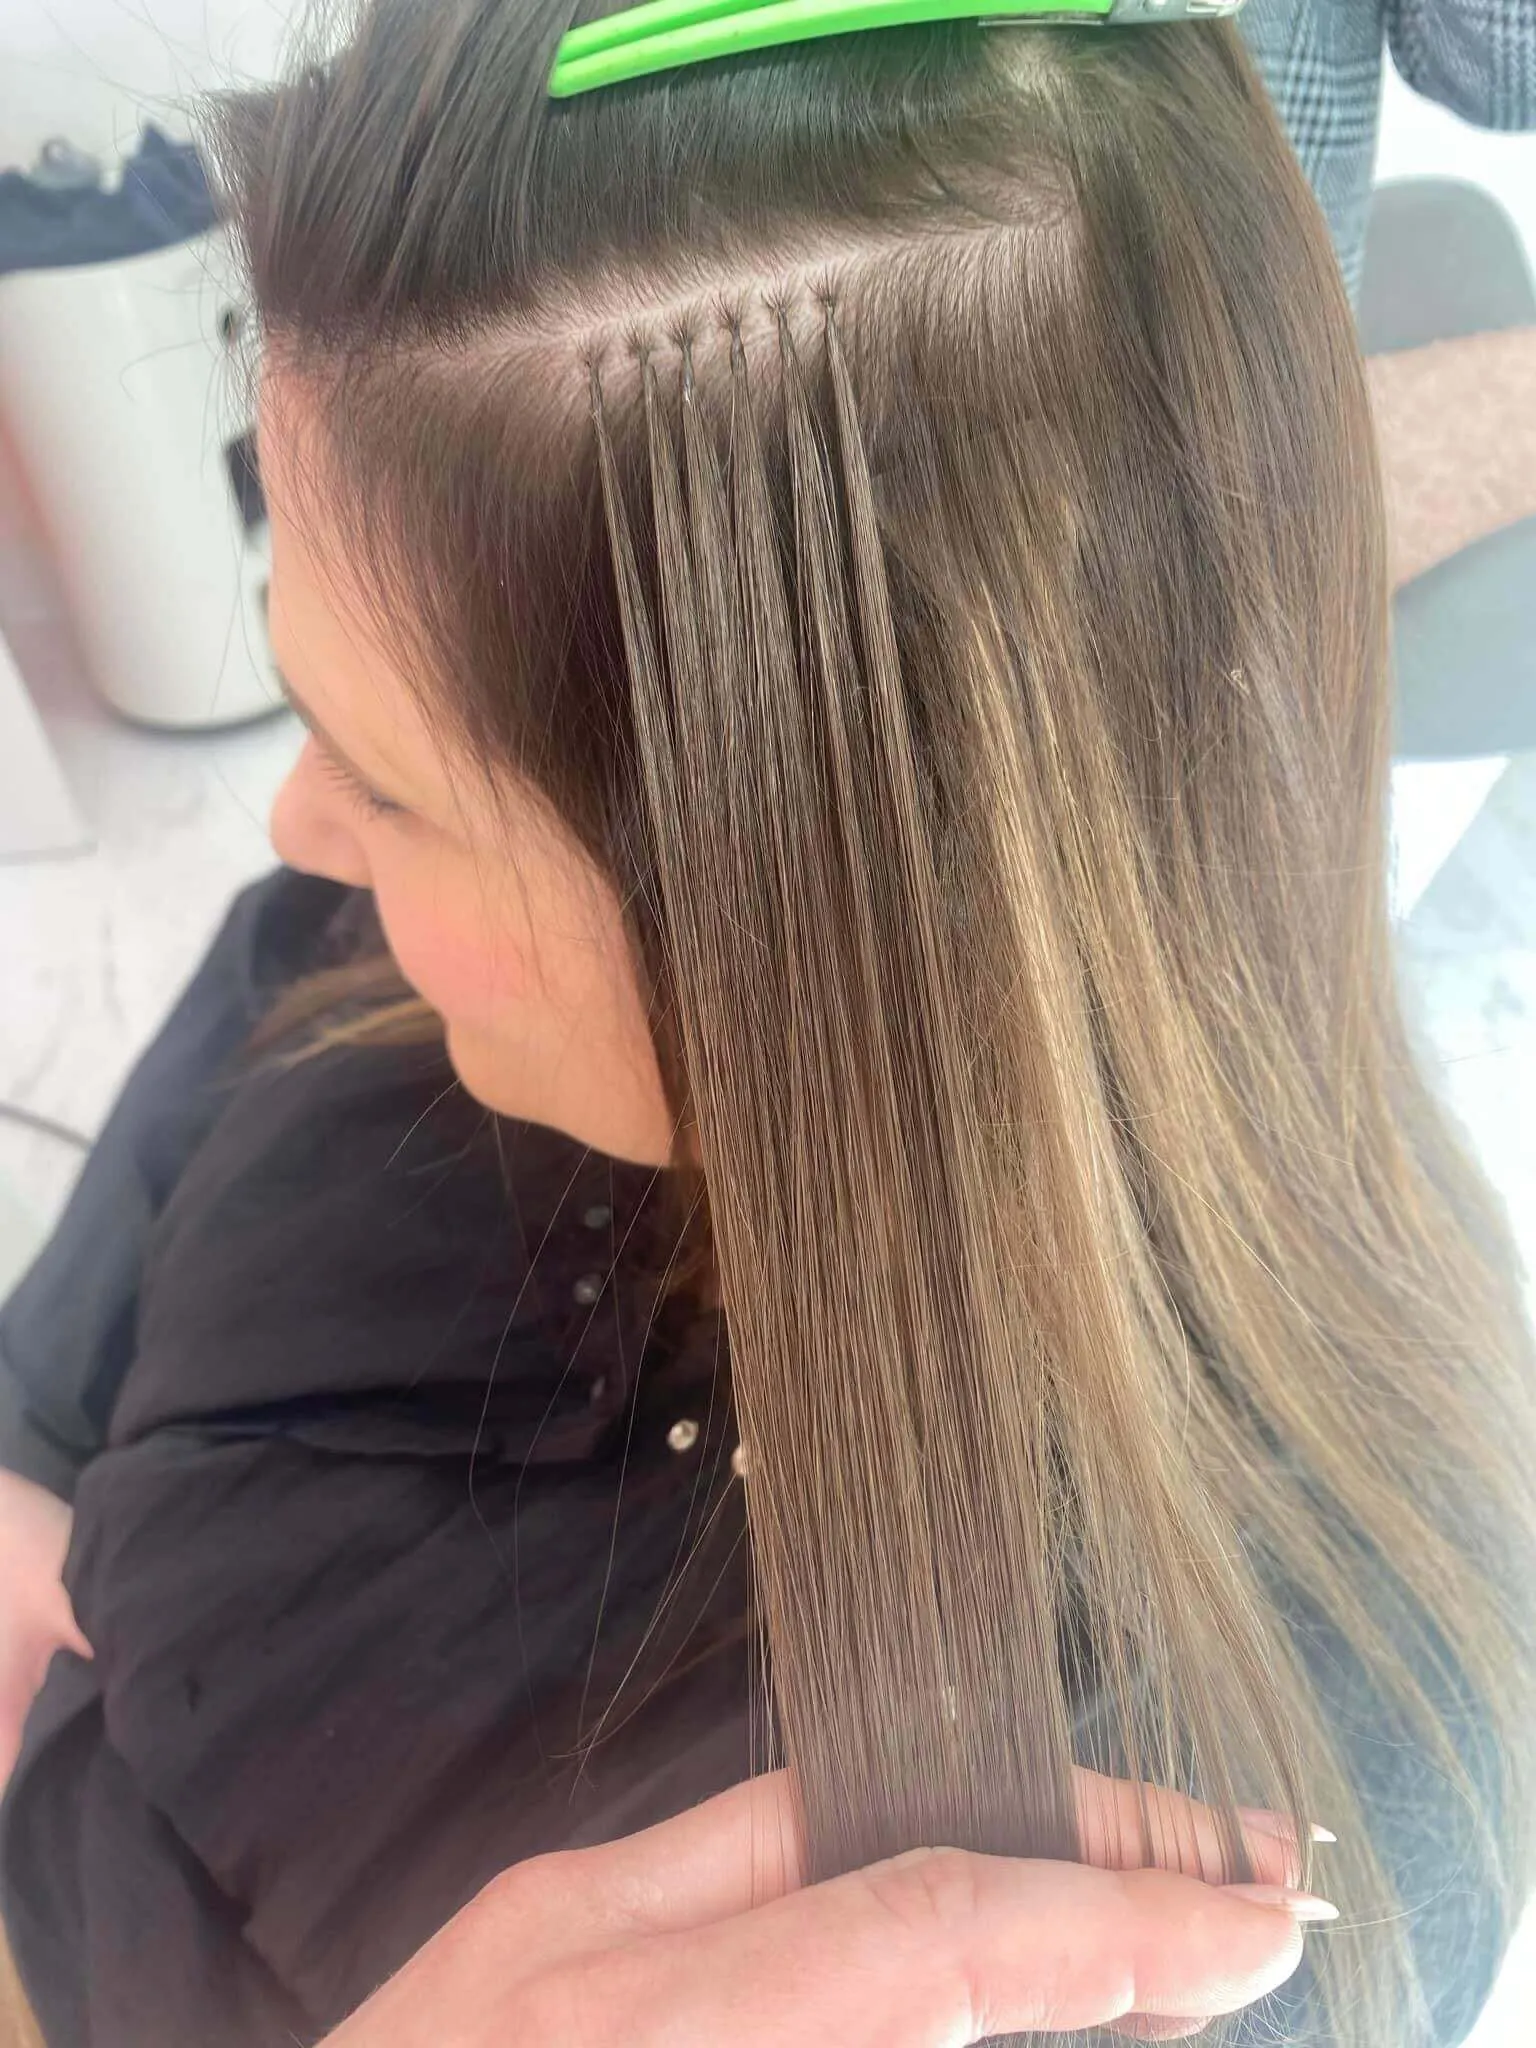
In contrast, tape-in extensions use thin adhesive wefts that lie flat on the scalp. This creates a lightweight and discreet look, which is great for fine hair. These semi-permanent options last 6-8 weeks with proper care.
Nano-bead extensions use tiny metal beads to attach individual strands without heat or glue. They provide 360-degree movement, which is great for different hairstyles like ponytails and updos. Though they need a bigger investment of time and money, they can last 8-12 weeks between maintenance appointments.
How to match extension texture with your hair
Texture matching is key. Once matched well, it should be hard to see where your real hair ends and the extensions start. First, determine your natural hair structure (fine, medium, or thick). Think about how you usually style your hair. If it’s straight, match the texture when it’s straightened. If you prefer curls, match it when your hair is curly.
Extension textures range from sleek straight to voluminous curls. Shop our hair extension collections. We have options made for your hair texture, ensuring a seamless blend.
Tips for colour matching and avoiding obvious hair extensions
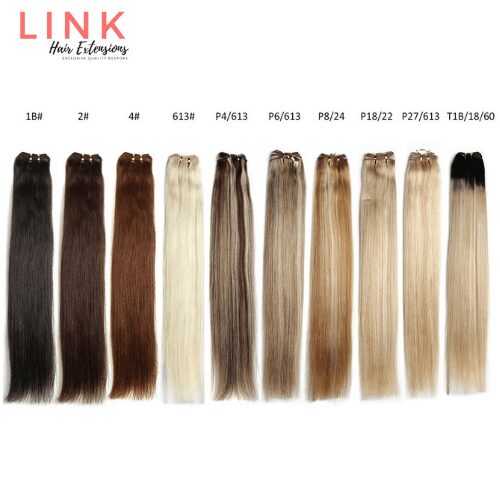
Colour matching is perhaps the most critical aspect of natural-looking extensions. Extensions that are too light, dark, or have the wrong undertone will create an obvious seam. Many companies like us here at Link offer colour-matching services where experts can help you find your perfect shade.
For multi-tonal hair, choose extensions with soft highlights and lowlights. They add depth and dimension. When you add extensions, styling them with your natural hair helps to create a smooth blend of the two textures.
To avoid that “obviously wearing extensions” look, remember to have your extensions trimmed to match your current cut, as most come with blunt ends. Above all, investing in quality 100% human Remy hair extensions will ensure the most natural appearance.
How to Blend Hair Extensions Step-by-Step
Now let’s get into the practical application—mastering the technique is where the magic happens for truly undetectable extensions.
Sectioning your hair properly
Proper sectioning creates the foundation for flawless extension blending. Start by dividing your hair horizontally from the nape of your neck upwards, working with clean, straight parts. Clip away the top sections so you can work layer by layer. For those with fine hair, create thinner sections in naturally less dense areas to ensure balanced results.
Strategic placement of wefts
Position your extensions strategically to achieve natural movement and concealment. Begin at the nape of your neck with your first weft, creating a secure foundation. Alternate different weft sizes throughout your head to mimic natural hair distribution. For seamless integration, maintain adequate space between rows to prevent bulking and stagger placement in subsequent rows to avoid visible lines.
Layering and trimming for a natural flow
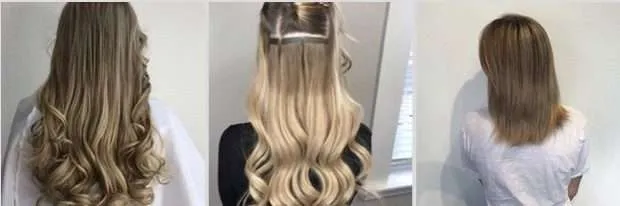
Layering is essential for blending extensions with your natural hair. After all extensions are in place, assess how they blend with your natural ends. If there’s a stark contrast, lightly trim the extensions with hairdressing scissors to create soft, feathered layers. Always trim vertically into the hair rather than straight across to avoid harsh lines. This technique ensures no one can tell where your hair ends and extensions begin.
Styling tips: curls, waves, and straightening
Styling both your natural hair and extensions together is crucial for seamless blending. Curling creates the easiest blend—the textured pattern makes it difficult to distinguish where your natural hair ends and extensions begin. For straight styles, start at the roots with your straighteners and slowly glide downward in one smooth motion. Always apply heat protectant before styling and set tools to a maximum of 220°C to prevent damage.
How to blend extensions with thick hair
For thick hair, proper layering is essential to avoid the “bulky” effect. Start by sectioning the bottom layer at the nape of your neck—a professional trick is to braid this bottom section and pin it flat against your head. This reduces weight and creates a more seamless blend. Use a Double Hair Set (180g-290g) that matches your natural thickness, and consider asking your stylist to thin out the outer layers of your extensions to avoid a “mushroom top” finish.
How to blend extensions with short hair
Short hair presents unique challenges when blending extensions. Your natural hair should be at least 5-6 inches long to properly conceal attachment points. Make your short sections look like layers by leaving enough hair on top to cover the clips. For blunt cuts, consider hiding the bottom layer by braiding and pinning it against your head. Adding waves or curls significantly helps disguise the transition between short hair and extensions.
Fixing Common Blending Mistakes
Even perfectly selected extensions can sometimes look unnatural. Fortunately, most blending issues have straightforward solutions.
How to avoid badly blended hair extensions
Preventing obvious extensions starts with proper installation. Never place wefts too high on your head—they should sit at least 1 cm below your parting to avoid creating visible bumps. Keep attachment points close to the roots yet hidden under layers of natural hair. For thinner hair, gently backcomb above the extensions to provide more coverage. Always position wefts no higher than brow level, except for 1-clip wefts which can be placed higher to blend front sections.
What to do if your extensions look obvious
Should your extensions become noticeable, there are several quick fixes. For visible short ends, pin or braid the hair at your nape before clipping extensions over this section. If there’s a harsh line between your natural hair and extensions, add soft curls or waves to both—this texture creates movement that disguises transitions. Alternatively, visit a professional for layering and cutting to match your natural hair’s shape and length. A blunt, uneven edge at the bottom is a clear giveaway you’re wearing extensions.
When to consult a stylist for help
Seek professional assistance if your extensions feel uncomfortable or cause pain—this indicates improper installation that could damage your hair. Likewise, consult a stylist for excessive tangling, shedding, or when extensions slip out of place. Professional maintenance every 6-8 weeks ensures optimal positioning and prevents further issues. An experienced stylist can also identify weak bonds early and make necessary adjustments to maintain that seamless, natural appearance.
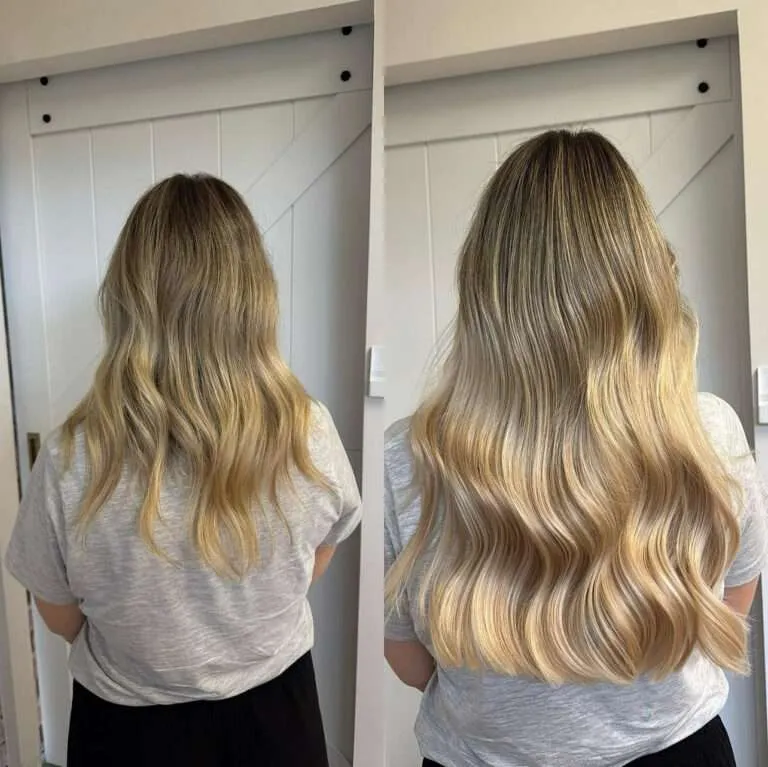
The journey to achieving flawlessly blended extensions is both an art and a science. By following the techniques outlined in this guide, you can create that enviable, natural-looking volume and length that appears to be your own hair.
Remember that practice makes perfect—your first attempt at blending may not be flawless, yet with each application, you’ll develop greater skill. Many professional stylists recommend starting with temporary options like clip-ins as you master the blending process, eventually graduating to semi-permanent solutions once confident in your technique.
Beyond the methods discussed, proper maintenance remains essential for long-lasting, seamless results. Brushing your extensions gently from ends to roots with a loop brush prevents tangling. Moreover, using sulphate-free shampoos and hydrating conditioners specifically formulated for extensions extends their lifespan considerably.
Although mastering extension blending requires patience, the transformation is worth the effort. Your newfound confidence will shine through as people compliment your hair without realising extensions are involved—that’s the ultimate measure of successful blending.
As a final tip, consider documenting your extension application process with photos or notes. This personal reference guide will help you repeat successful techniques and avoid previous mistakes, ensuring your blended extensions look increasingly natural with each application.
Key Takeaways
Master the art of seamless hair extension blending with these essential insights from professional stylists:
- Match your hair type first: Fine hair needs lightweight tape-ins (100-140g), while thick hair can support heavier options (180-220g) for natural integration.
- Strategic placement is everything: Section hair horizontally, start at the nape, and keep wefts 1cm below your parting to avoid visible bumps.
- Texture and colour matching prevents detection: Choose extensions that match your natural hair’s texture when styled, and invest in quality human Remy hair for authenticity.
- Layer and trim for natural flow: Cut extensions vertically (not straight across) to create soft, feathered layers that blend seamlessly with your natural ends.
- Style together for seamless results: Always curl, wave, or straighten your natural hair and extensions together—textured styles make transitions nearly impossible to detect.
The key to undetectable extensions lies in understanding your hair’s unique characteristics and applying professional techniques consistently. With proper sectioning, strategic placement, and careful styling, your extensions should move and shine exactly like your natural hair.
FAQs
Q1. How can I make my hair extensions blend more naturally? For a natural look, trim and layer your extensions. Style them with curls or waves, mixing them with your natural hair. Also, place them higher on your head. Using quality extensions that match your hair’s texture and colour is also crucial for seamless integration.
Q2. Is it necessary to wash hair extensions before blending? Yes, washing extensions before blending can be beneficial. It allows the hair to take on a more natural texture and fluffs it up, making it easier to blend and install. This process can also help the extensions feel more consistent with your natural hair’s volume.
Q3. Can I blend extensions with short hair without cutting them? Yes, you can blend extensions with short hair without cutting. Use more wefts for fuller coverage. Focus on under-layers to hide blunt ends. Style with waves or curls to soften the transition between your natural hair and the extensions.
Q4. What’s the best way to blend extensions for fine or thin hair? For fine or thin hair, choose lightweight extensions like tape-ins (100-140g). Make thinner sections when applying them. You can also hide the bottom layer by braiding it and pinning it to your head. Gentle backcombing above the extensions can also provide more coverage.
Q5. How often should I seek professional help for maintaining my hair extensions? It’s advisable to consult a professional stylist every 6-8 weeks for extension maintenance. It keeps everything organised, prevents tangling and shedding, and allows you to adjust for a smooth, natural look.
Best selling products

Clip In Fringe – Human Hair Bangs
£28.70Curly Tape In Hair Extensions
Price range: £69.50 through £92.50Tape Hair Extensions Remy Human Hair
Price range: £50.45 through £181.89Messy Bun Hair Piece
Original price was: £23.07.£19.00Current price is: £19.00.26 Inch Human Hair Weft – Straight
Price range: £168.91 through £573.9928 Inch Human Hair Weft – Straight
Price range: £200.96 through £637.71